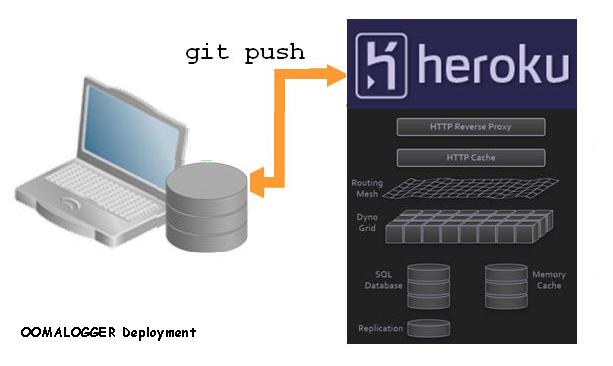
One of the initial problems that come up with Ruby web application development is where do you host it? A lot of the general web-hosting sources don't support Ruby unless you are on dedicated servers and roll-your-own environment. Heroku is an amazing service for Ruby developers that makes it drop-dead simple to deploy Heroku apps.

The "oomalogger" application turned out to be both more and less complex than I originally thought. Less complex, because I didn't need a database after all and more complex because of unforeseen things like Heroku applications being essentially read-only and my needing to work around those issues. T here is a tmp and log directory for temporary and log files but in general and for scalability the Heroku app should not be trying to write files to the file system. Read only files are okay as long as the total app size including the static files is less than 50mb and preferably less than 20mb.
The work-around for the Nokogiri file parsing problem - the Mechanize returned page could not be parsed by Nokogiri was as follows: if the Mechanize doument that was returned is in object 'page' then you have to parse the page object with the 'body' method (i.e page.body) instead of attempting to parse the entire object 'page'.
Deploying to Heroku essentially followed these steps:
The config.ru file must contain a require statement for sinatra; the name of the application to be run and the statement to actually run the application for oomalogger this looks like:
- Create a config.ru file
This is the Rack configuration file, which is actually just another Ruby script.
3 |
run Sinatra.application |
This tells Rack to include the Sinatra and the oomalogger, then run the Sinatra application.
- Initialize an empty Git repository in the snip folder
1 |
$ cd workspacerubyprogramsoomalogger |
3 |
Initialized empty Git repository in .git/ |
5 |
--> $ git commit -m 'initial import' |
6 |
Created initial commit 5581d23: initial import |
7 |
2 files changed, 52 insertions(+), 0 deletions(-) |
8 |
create mode 100644 config.ru |
9 |
create mode 100644 snip.rb |
This just creates and initializes an empty git repository on your computer.
- Create the Heroku application
1 |
--> $ heroku create oomalogger |
2 |
Created http://oomalogger.heroku.com/ | git@heroku.com:oomalogger.git |
3 |
Git remote heroku added |
5. Push your code to Heroku
01 |
--> $ git push heroku master |
02 |
Counting objects: 4, done. |
03 |
Compressing objects: 100% (4/4), done. |
04 |
Writing objects: 100% (4/4), 999 bytes, done. |
05 |
Total 4 (delta 0), reused 0 (delta 0) |
06 |
-----> Heroku receiving push |
07 |
-----> Rack app detected |
08 |
Compiled slug size is 1.9M |
09 |
-----> Launching....... done |
10 |
App deployed to Heroku |
11 |
To git@heroku.com:oomalogger.git |
12 |
* [new branch] master -> master |
Notice that this pushes your code and loads your application into deployment.
You can now go to your application on Heroku and you should be able to see it.
